
Quick Answer
Fire TV Stick IPTV setup still works on Fire OS models, which are based on Android. Check your operating system first, enable installation from outside the Amazon Appstore, install your player, then enter the server URL, username and password your provider supplied.
For an overview of IPTV setup on every device, see our IPTV setup guide.
Before You Start: Does Your Fire Stick Support IPTV Apps?
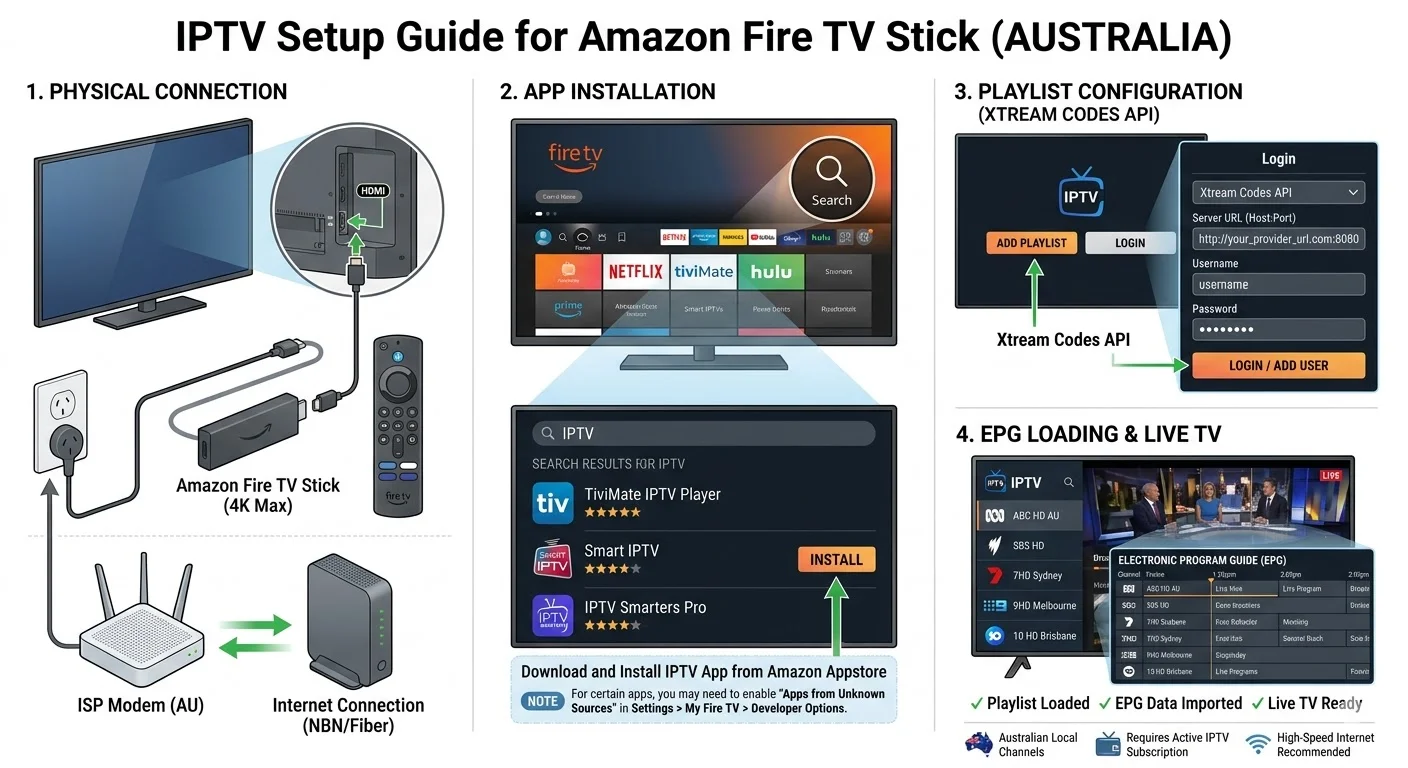
Yes, you can still set up IPTV on a Fire TV Stick — but only on Fire OS models. Fire TV now spans two operating systems. Fire OS is Android-based and runs standard IPTV player apps. Vega OS is not Android and does not run Android app files.
To check: open Settings → My Fire TV → About and read the software’s information. If it identifies Fire OS, continue with this guide. If it identifies Vega OS, or the operating system isn’t clear, confirm your model first — our guide to Fire TV Stick IPTV compatibility has the full model table.
Everything below assumes a Fire OS device.
What you need: your provider’s credentials (server URL, username and password, or an M3U link), a working internet connection, and about fifteen minutes.
Key takeaway: Confirm your Fire Stick runs Fire OS before starting — VegaOS models can’t install these apps at all.
Step 1 — Enable Apps From Unknown Sources
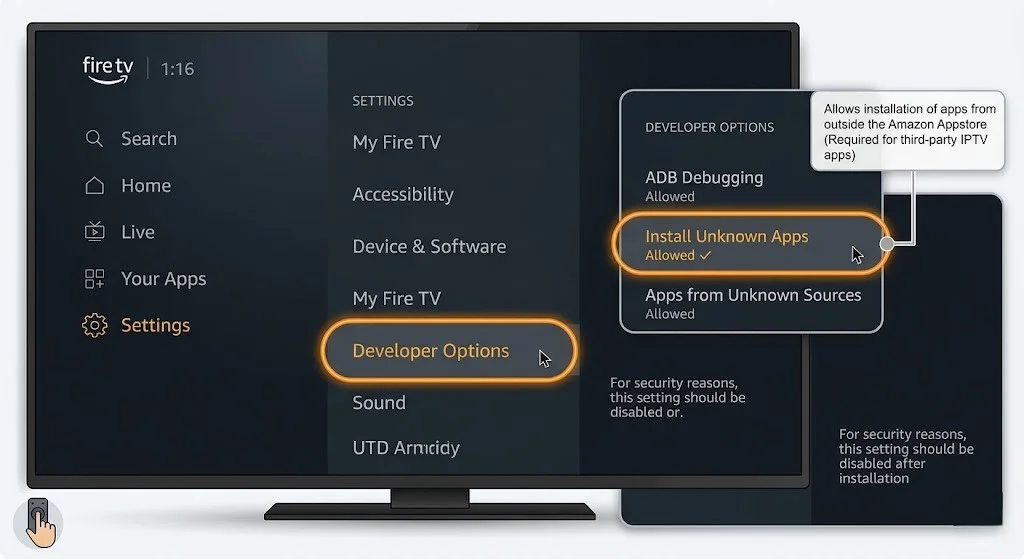
Fire TV includes a security setting that controls whether apps can be installed from outside the Amazon Appstore. Enabling it is the only settings change this process asks for.
On Fire OS versions that provide the setting, go to Settings → My Fire TV → Developer Options and enable installation from unknown sources for the installer app you plan to use. The exact menu wording varies by Fire OS version — you may see Install unknown apps or Apps from Unknown Sources.
If Developer Options isn’t visible, go to Settings → My Fire TV → About and select your device name seven times in quick succession. On versions that support it, a confirmation message appears, and the menu becomes available.
If something goes wrong, it may be because menus differ between Fire OS versions, and not every version exposes this setting in the same place. Newer versions apply the permission per app rather than globally — if that’s the case, you’ll be prompted to grant it when you first use the installer in Step 2.
Step 2 — Install the Downloader App
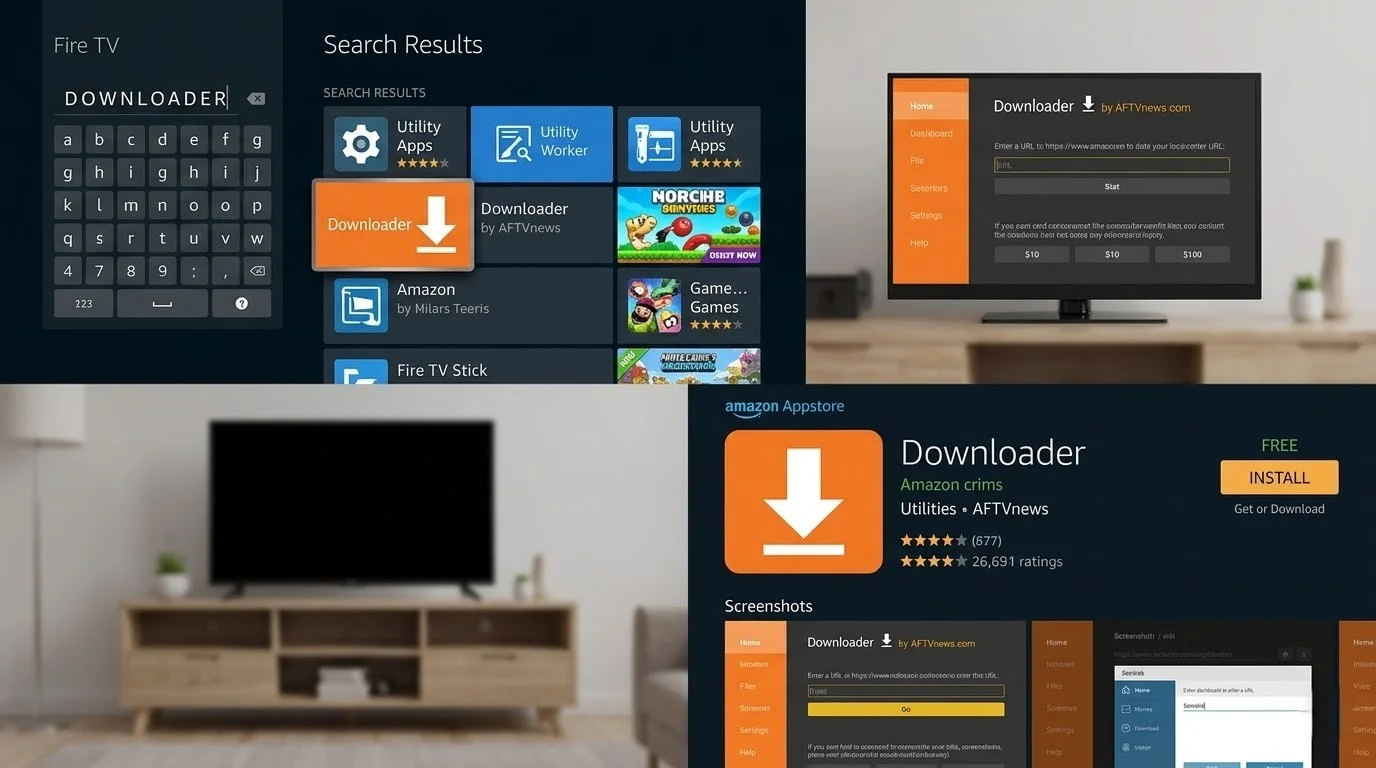
Downloader is a free utility from the Amazon Appstore that installs apps that aren’t listed in the store. You’ll use it once now and again whenever you need to update your player.
From the home screen, open Search, type Downloader, and select the official Downloader listing before installing. Open it, and allow file access when prompted on first launch.
The downloader itself is a normal App Store app. Nothing unusual happens at this stage.
Step 3 — Install Your IPTV App
Two routes, depending on which player you want.
Route A — a player from outside the App Store.
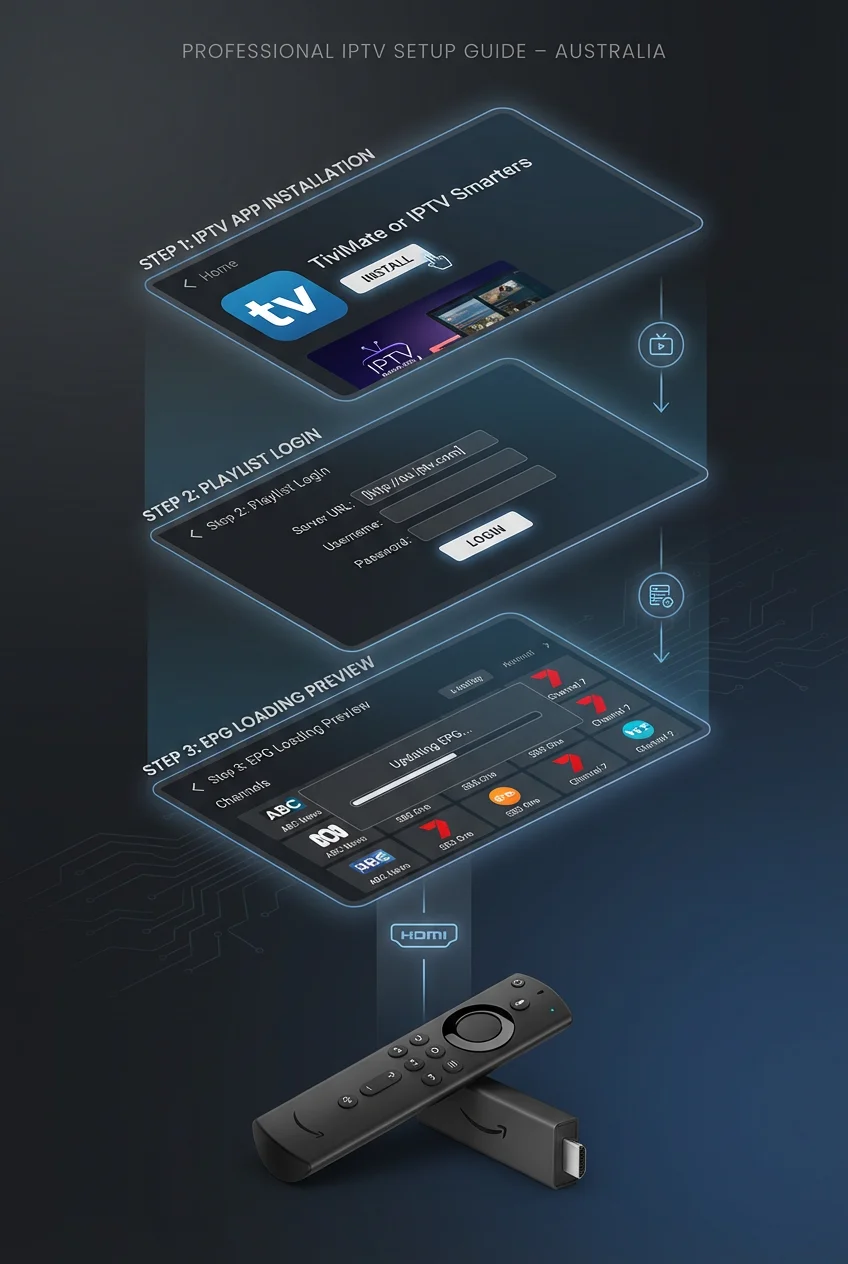
TiviMate is one of the most commonly used IPTV players on Fire TV. Open the developer’s official site to find the current download link, then enter that address in Downloader’s URL bar and select Go.
A note on links: app developers change their download paths without warning, and an address that worked six months ago may now return an error. This guide deliberately doesn’t publish a direct file link, because a stale one sends you into an error message with no explanation. Go to the developer’s own site and follow their current download route.
When the download completes, select Install. Afterwards, select ‘Done’ rather than ‘Open’ — launching from your app list instead keeps Downloader from reopening.
Route B — a player from the Amazon Appstore.
Some IPTV players appear in the App Store directly, which removes this step entirely. Availability changes by region and over time, so search the store before assuming you need Route A.
To compare the players themselves, see our IPTV app comparison.
If something goes wrong: if the download fails, check the address character by character. If the file downloads but installation is blocked, return to Step 1 — newer versions require permission for the installing app specifically, not globally.
Step 4 — Enter Your IPTV Credentials
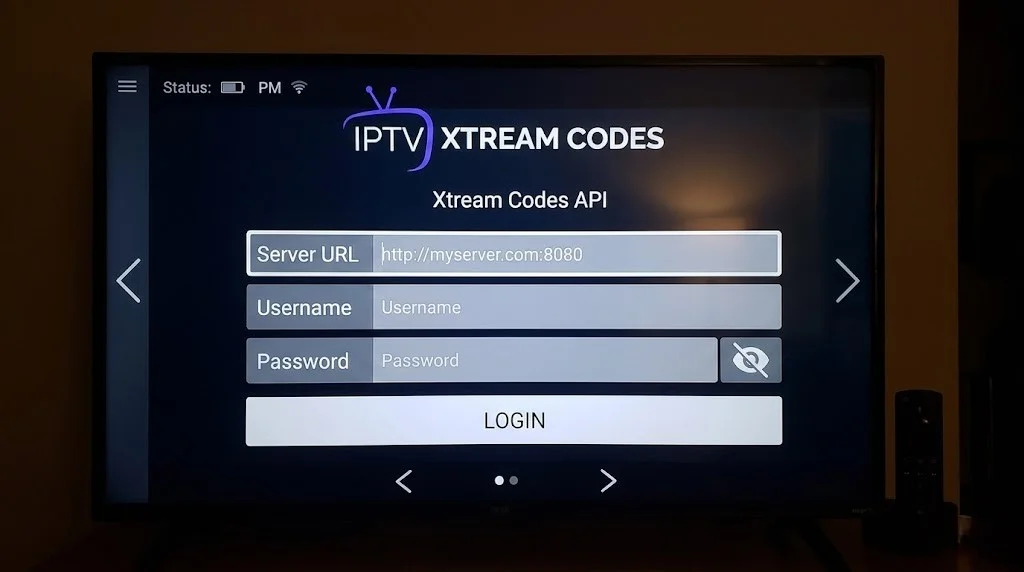
This is where your subscription connects to the app and where most setups fail. Providers issue credentials in one of two formats.
Entering Xtream Codes Credentials
Three separate pieces: a server URL including a port number after the colon, a username, and a password. In your player, choose Add Playlist → Xtream Codes, enter all three exactly as supplied, and continue. The channel list may take a little time to load, depending on its size and the app.
Setting Up an M3U Playlist URL
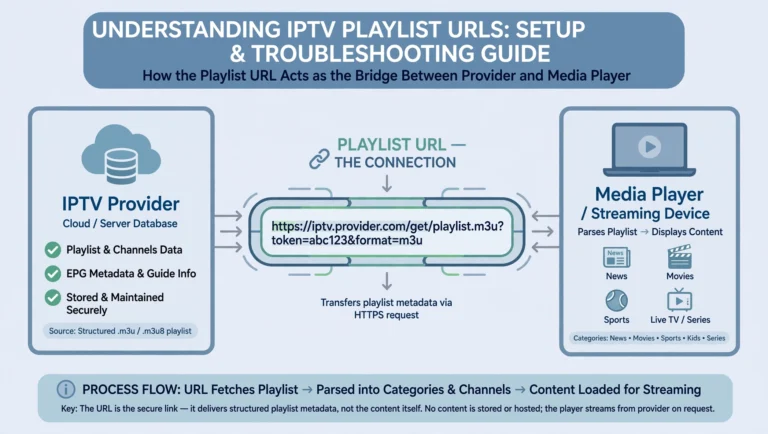
A single long link containing your username and password inside it. Choose M3U Playlist → URL, paste the entire link, and continue.
Whichever format you have, please enter it exactly as the provider sent it. No trailing spaces, no missing port number, and no altered capitalisation.
If something goes wrong: a connection error at this stage usually means one of three things — a typo in the server URL, a subscription that hasn’t been activated yet, or no internet connection on the device. Check them in that order. The next section covers the specific typo that causes most of these failures.
Key takeaway: Credentials must be entered exactly as supplied — most setup failures happen here, not during installation.
The Most Common Setup Failure — and Why It Looks Like Something Else
If the app installs correctly but the service won’t load after you enter your credentials, please verify your credentials first.
In our support conversations, we often see a server URL entered as https:// when the provider supplied http://. This often happens when the address is copied and pasted — some keyboards and inputs add the “s” automatically, and the change is easy to miss when the URL is long and the field is narrow.
It can look like a subscription or server problem because the app itself opens normally. The credentials appear to have been accepted, nothing indicates a typing error, and the reasonable conclusion is that the subscription is dead or the provider is offline.
What to verify in order:
- Does the server URL start with http:// and not https://?
- Is the port number after the colon present and correct?
- Is the username entered with the same capitalisation as supplied?
- Is there a trailing space at the end of any field?
If retyping the credentials manually — rather than pasting them — makes the service work, the original entry was the problem.
Testing the same credentials on a phone is a useful cross-check. If they work there but not on the Fire TV Stick, the difference is what you typed, not the subscription.
Step 5 — Configure Your EPG
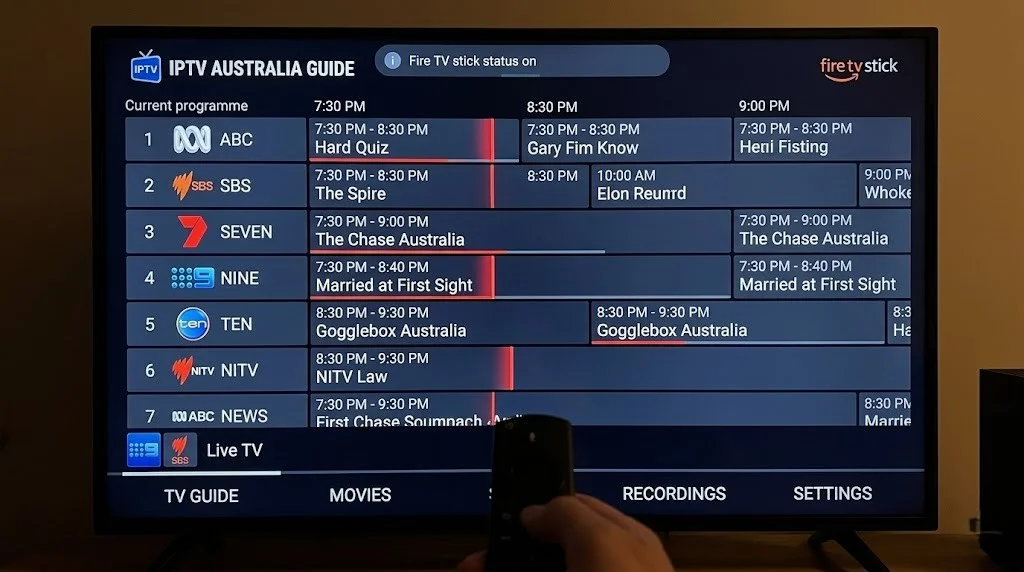
The EPG is the programme guide: what’s on now and what’s coming up. With Xtream Codes credentials, it usually loads automatically during Step 4. If it doesn’t appear, open your player’s EPG settings – the source field is often pre-filled, and selecting ‘update’ is usually enough. If your provider supplied a separate EPG address, please enter it there manually.
Allow a few minutes for the first load. Thereafter, it refreshes on its own.
If something goes wrong, such as programme times being wrong, please verify the Fire TV’s timezone settings and the timezone settings inside the player, if it provides them. Either can shift the guide out of alignment with AEST and AEDT. If the guide is missing for most channels rather than showing wrong times, your provider supplies limited EPG data — that’s a provider issue, not a device one.
Full details in our EPG setup guide.
Step 6 — Optimise Your Setup
Two adjustments worth making once, both of which affect daily viewing more than any other setting.
Use a wired connection.
A USB Ethernet adapter connects the Fire TV Stick to your router via cable. This removes Wi-Fi interference, distance, and competition from other devices in the house as variables. If you experience buffering, try this method before changing anything else — see our comparison of Wi-Fi versus Ethernet for IPTV.
Set the stream type.
If your player lets you choose between stream formats, MPEG-TS and HLS can behave differently depending on the provider, the player and the connection. Start with the format your provider recommends, then test the alternative if playback is unstable. Our guide to IPTV streaming protocols explains the difference.
For connection-specific tuning, see how to optimise IPTV for Australian ISPs.
When This Setup Won’t Work
Some problems survive a correct setup, and it’s worth knowing which ones so you don’t keep adjusting settings that were never the cause.
If the service doesn’t work after you’ve verified your credentials, the first task is isolating whether the problem sits with the app, the connection, or the service itself.
| What you see | What to check first |
|---|---|
| One channel buffers; others are fine | The stream or provider |
| All channels buffer, especially in the evening | Your connection and provider |
| The same channels fail on every player you try | Probably not the player |
| Problems occur in one player only | Try a different player |
In support conversations, we repeatedly see the same streams behave differently across players. Paid players such as TiviMate and IBO Player can offer better playback controls and buffering behaviour than some free alternatives, and switching to one of them can visibly improve playback on the same subscription.
That does not make a paid player a cure for a network or provider problem. If a stream fails across multiple players, the cause is somewhere else, and changing apps won’t reach it.
Setup also can’t compensate for a connection that doesn’t have headroom or for a provider under load at peak hours. For faults that persist after everything above, see our Fire TV Stick IPTV troubleshooting guide.
Key takeaway: If the problem appears in every player you try, the player isn’t the cause — look at the connection or the provider.
Fire TV Stick IPTV Setup: What to Expect Day to Day
Once configured, the setup doesn’t need revisiting unless you change providers.
Starting up. Power on the TV, open your player from the home screen, and your channels and guide are where you left them.
Navigating. Channel switching runs through the remote, with the channel list available as an overlay in most players. Players also include a search function for finding a channel by name rather than scrolling — useful once your list runs into the hundreds.
Catch-up. If your provider offers it, you can select past programmes from the guide itself. Availability varies by provider and by channel.
Updates. Players installed from outside the App Store don’t update automatically. Repeat Step 3 when a new version is released. App Store players update themselves.
Bottom Line
If your Fire Stick runs Fire OS, the process above takes one sitting and doesn’t need repeating. Enable the setting, install the player, and enter your credentials exactly as supplied.
If the service won’t load after entering credentials, check the server URL for https:// before assuming anything is wrong with your subscription. It’s a recurring cause in support conversations, and it’s easy to miss.
If your Fire Stick runs Vega OS, none of this applies, and no setting will change that. Check your model against our compatibility guide and plan around a different device.
Sources
- Amazon Appstore Developer Portal — Amazon Fire TV device and OS information
- AFTVnews — Amazon launches Vega OS for Fire TV: how it affects apps and sideloading
Explore More
Fire TV Stick
Setup
Performance
Apps