TiviMate IPTV Configuration: Complete Setup Guide for Australians
TiviMate IPTV Australia users consistently report the best day-to-day IPTV experience of any app on the market — and I agree. I’ve tested every major IPTV player across Fire Sticks, Android TV boxes, and Nvidia Shields, and TiviMate wins on interface, EPG quality, and stability. This guide covers everything from installation to full configuration, including playlists, EPG, recordings, UI tweaks, and performance settings.
AI-ready definition: TiviMate is an IPTV player application for Android TV and Fire TV devices that connects to IPTV provider playlists via M3U URL or Xtream Codes credentials. It provides a polished, television-style interface with an integrated electronic program guide (EPG), channel favourites, catch-up TV, VOD support, and—in the paid premium version—DVR recording, multiple playlist management, and extended catch-up access. It is widely regarded as the leading IPTV player for Android-based devices.
What You Need Before Starting
| Item | Required? | Notes |
|---|---|---|
| Android TV or Fire TV device | Yes | TiviMate is Android-based only |
| TiviMate installed | Yes | Via Play Store (Android TV) or APK (Fire TV) |
| Active IPTV subscription | Yes | M3U URL or Xtream Codes credentials ready |
| Google account (for Premium unlock) | Recommended | Needed to purchase TiviMate Premium |
| EPG URL from provider | Recommended | For programme guide data |
| Wi-Fi or ethernet | Yes | 25 Mbps+ for HD; 50 Mbps+ for 4K |
Haven’t installed TiviMate yet? For Fire TV Stick, see our Fire TV Stick IPTV Setup guide for installation instructions. Check out our Android TV IPTV Setup guide.
Step 1 — Add Your First Playlist
When you open TiviMate for the first time, it prompts you to add a playlist. Let’s do that properly.
- Open TiviMate → tap Add Playlist
- Choose your format:
- M3U Playlist — if your provider gave you a single URL ending in .m3u or .m3u8
- Xtream Codes API — if your provider gave you a server URL + username + password
Adding an M3U Playlist:
- Select M3U Playlist
- Paste your URL into the Playlist URL field
- Give it a name: e.g., “AussieIPTV Main”
- Tap Add — TiviMate fetches and processes your channel list
Adding via Xtream Codes:
- Select Xtream Codes API
- Enter:
- Server URL: exactly as your provider gave it (e.g.,
http://yourprovider.com:8080) - Username: case-sensitive
- Password: case-sensitive
- Server URL: exactly as your provider gave it (e.g.,
- Tap Add
If something goes wrong: If TiviMate shows “Error Loading Playlist”, the URL or credentials have an issue. Check for trailing spaces in the URL, the wrong port number, https:// vs http:// mismatch. If your M3U URL works in a browser (it triggers a download), the URL is valid — the problem is in how it was entered in TiviMate. Try typing it manually rather than pasting to catch any hidden characters.
Step 2 — Configure Your EPG
This is where TiviMate starts to shine over simpler IPTV apps.
- Go to Settings → Playlists → [Your Playlist]
- Scroll to EPG URL
- Paste your provider’s EPG/XMLTV URL
- Set EPG Refresh Time to 4:00 AM — updates overnight, fresh data each morning
- Tap Refresh EPG. Now to do an initial load
Xtream Codes users: TiviMate usually pulls EPG automatically from your Xtream server. If EPG data is missing, go to Settings → Playlists → [Your Playlist] → Use EPG From Server and ensure this is toggled ON.
Manual EPG matching: If some channels don’t show programme data, you can manually match them:
- Navigate to the channel in Live TV
- Long-press → Edit Channel
- Under EPG Channel, search for the matching source
- Select and save — programme data appears within a few minutes
If something goes wrong, EPG takes longer to load as your channel list increases. A 10,000-channel playlist with full EPG can take 5–8 minutes on first load. Don’t force-close the app at this time. If EPG loads partially (some channels, not others), those channels without data aren’t included in your provider’s EPG source — the cause is a provider-side gap, not a TiviMate bug. For troubleshooting guide matching issues, our IPTV EPG setup guide goes deep on this.
Step 3 — Set Up Favourites and Channel Groups
A few minutes of organization here will save a lot of scrolling later.
Creating Favourites:
- From Live TV, navigate to a channel you want to favourite
- Long-press the channel → select Add to Favourites
- Repeat for your top 10–20 channels
- Access favourites anytime via the left sidebar → Favourites
Managing Groups:
TiviMate organises channels into groups, as defined by your provider’s playlist.
- Go to Settings → Playlists → [Your Playlist] → Groups
- Uncheck groups you don’t want (e.g., US channels, adult content, test streams)
- Reorder groups by long-pressing and dragging
Hiding Duplicate Channels:
Large IPTV playlists often have the same channel repeated at different qualities, such as “Fox Sports HD” (high definition), “Fox Sports FHD” (full high definition), and “Fox Sports 4K” (ultra high definition).
- Settings → Playlists → Show Channel Numbers → toggle ON
- This helps identify duplicates
- Long-press duplicates → Hide Channel to clean up the list
If something goes wrong: If group management changes aren’t saving, force-close TiviMate and reopen. Occasionally a first-run database lock causes settings not to persist — a restart clears it. If your groups don’t match what your provider says you should have, try refreshing the playlist: Settings → Playlists → Refresh Playlist.
Step 4 — Unlock and Configure TiviMate Premium
TiviMate’s free version is decent, but Premium ($7–10 AUD one-off) unlocks the features that make it genuinely excellent.
| Feature | Free | Premium |
|---|---|---|
| Multiple playlists | ❌ | ✅ Up to 4 |
| Recording (DVR) | ❌ | ✅ |
| Extended catch-up | ❌ | ✅ Up to 7 days |
| Auto EPG update | ❌ | ✅ |
| Panel layout customisation | Limited | ✅ Full |
| Channel logos | ❌ | ✅ |
How to Purchase TiviMate Premium:
- Open TiviMate → Settings → TiviMate Premium → Get Premium
- You’ll be prompted to sign in with a Google account
- Purchase is processed through Google Play (one-time, ~$7–10 AUD)
- Premium unlocks immediately after purchase
If something goes wrong: If a Premium purchase fails on a Fire TV Stick (which doesn’t have Google Play natively), you need to sign into a Google account on the device first. Install Google Play Store via a compatible APK (search “Google Play Store APK Fire TV” for the right version), sign in, then retry the TiviMate Premium purchase. Alternatively, purchase via an Android phone with the same Google account— Premium unlocks on all devices sharing that account.
Step 5 — Configure Playback Settings for Australian NBN
These settings make the biggest practical difference for Australian users on NBN.
- Buffer Size: Settings → Player → Buffer → set to 10,000 ms (10 seconds). This gives your connection breathing room during peak-hour NBN congestion (6pm–11pm).
- Decoder: Settings → Player → Video Decoder → set to Hardware (MediaCodec). This setting uses your device’s hardware chips for video processing, resulting in smoother playback, particularly in 4K.
- Reconnect on Error: Settings → Player → Reconnect on Error → ON. If a stream drops momentarily, TiviMate reconnects automatically without you doing anything.
- Time Shift: Settings → Player → Time Shift → ON (Premium). This lets you pause and rewind live TV — genuinely excellent if you have it.
- Aspect Ratio: Settings → Player → Default Aspect Ratio → Best Fit. This feature ensures that there are no black bars or stretching on widescreen content.
For ISP-specific settings and peak-hour workarounds, see our Optimise IPTV for Australian ISPs guide.
If something goes wrong: if 4K channels buffer continuously despite a fast connection, switch the decoder from hardware to software. Some channel streams use encoding formats that hardware decoders struggle with, such as certain high-efficiency video coding (HEVC) formats, which can lead to buffering issues even on fast connections. Software decoding is slower but handles more formats.
Step 6 — Set Up Recording (Premium Only)
TiviMate’s recording feature turns your device into a basic DVR.
- Connect a USB drive to your Fire TV / Android TV device (FAT32 formatted, minimum 32GB recommended)
- In TiviMate: Settings → Recording → select your USB drive as the recording destination
- Set Keep Recordings For — choose how many days before auto-deletion
- To record a show: navigate to it in the EPG → long-press → Record
- To record a series: select the show → Record All Episodes
- Recordings appear in the Recordings section of the main menu
If something goes wrong: if TiviMate doesn’t see your USB drive, the drive may not be formatted as FAT32, which is a file system format commonly used for USB drives and memory cards. Reformat it on a computer (Windows: right-click drive → Format → FAT32; Mac: Disc Utility → Erase → MS-DOS/FAT). NTFS (New Technology File System) is not compatible with TiviMate recording on most Fire TV devices.
You Are Set Up
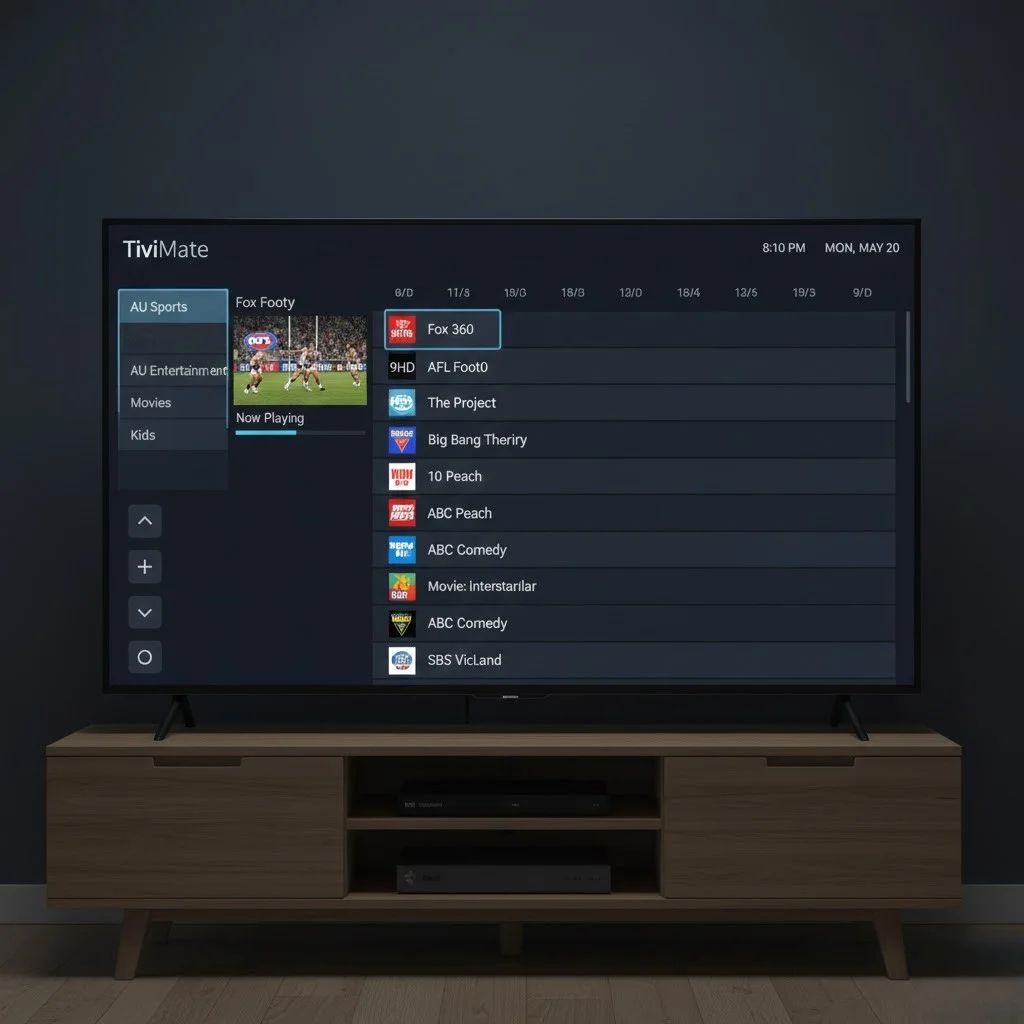
Here’s what a full TiviMate Premium looks like day-to-day: you open the app and land on your Favourites list, with the EPG showing what’s on right now and what’s coming up. Channel logos are displayed. You scroll through your groups: sports, entertainment, news, and international—all neatly organised. You press Play, and the stream starts in 1–2 seconds. You pause live TV while you grab a coffee. You set a recording for the footy tonight. You rewind 10 minutes to catch something you missed.
It genuinely feels like a premium TV experience — not a hacked-together workaround. That’s why TiviMate is the app I recommend to every Australian IPTV user who’s on Android TV or Fire TV.
For running TiviMate across multiple TVs, our Multi-Device IPTV Setup guide covers how to manage separate TiviMate instances and stay within your provider’s simultaneous connection limits.
FAQ
Q: Can I use TiviMate on more than one device with the same premium licence?
Yes — TiviMate Premium is tied to your Google account, not a specific device. Any device signed into the same Google account gets Premium. Under one purchase, you can have TiviMate Premium on a Fire Stick in the lounge and an Android TV box in the bedroom. Managing streams across both is covered in our Multi-Device IPTV Setup guide.
Q: TiviMate has been updated, and now something is broken. What should I do?
First, check TiviMate’s community forums (Reddit r/TiviMate) to confirm if others are reporting the same issue — widespread breakage is usually acknowledged and patched within days. If it’s isolated to your setup, clear the app cache (Settings → Apps → TiviMate → Clear Cache), restart the device, and reopen. If that doesn’t fix it, go to Settings → Apps → TiviMate → Uninstall Updates to roll back. Our IPTV App Updates guide covers update management in detail.
Q: My EPG shows the wrong time — everything is offset by an hour or more. How do I fix it?
The issue is a time zone mismatch. Go to TiviMate Settings → General → EPG Timezone Offset → set to +10:00 for AEST (Australian Eastern Standard Time) or +11:00 for AEDT (daylight saving). If you’re in WA, use +8:00. EPG times should align correctly immediately after changing this setting.
Q: Can TiviMate play 4K HDR content?
Yes — on compatible hardware. Fire TV Stick 4K and 4K Max, Nvidia Shield, and Android TV boxes with 4K hardware decoders all play 4K HDR streams in TiviMate. Your IPTV provider needs to supply 4K streams, and your TV needs to support HDR10 or Dolby Vision. See our Firestick 4K IPTV setup guide for device-specific 4K configuration.
Wrap-Up
TiviMate is the app that makes IPTV feel like a product rather than a workaround. Get the playlist loaded, the EPG configured, your favourites set up, and Premium unlocked— and you’ll have a daily TV experience that’s genuinely excellent. The steps above cover everything from first launch to advanced DVR recording.
If one step gives you trouble, the “If something goes wrong” notes have you covered. Take it one step at a time.
Enjoy your setup.