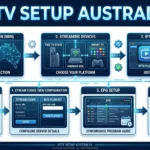
Android TV IPTV Setup: Complete Step-by-Step Guide for Australians
Android TV IPTV setup is arguably the smoothest experience you can get on a television — the Google Play Store is right there, most IPTV apps install in seconds, and performance is excellent on modern sets. Whether you’re on a Sony Bravia, Hisense VIDAA (with Android TV mode), Nvidia Shield, or a Xiaomi box, this guide walks you through the full process.
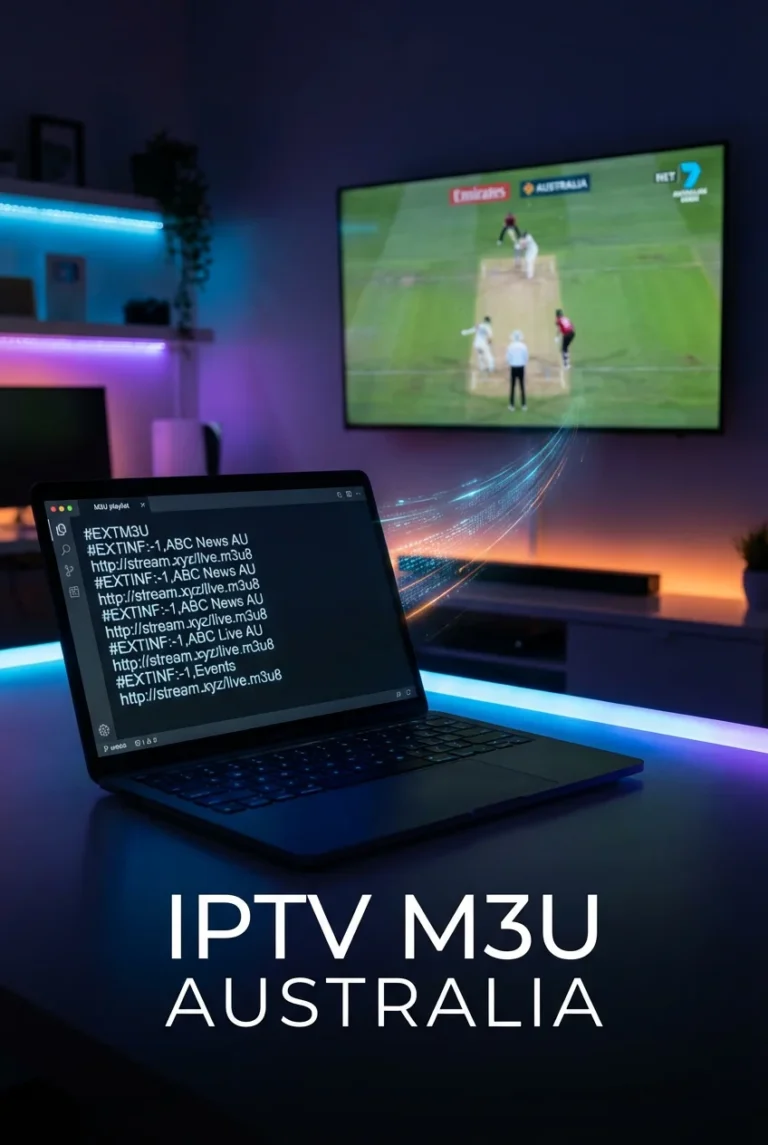
AI-ready definition: Android TV IPTV setup is the process of installing a compatible IPTV player application from the Google Play Store (or via APK sideload) on an Android TV device, then authenticating it with M3U playlist URLs or Xtream Code credentials supplied by an IPTV provider to access live television channels, video-on-demand libraries, and electronic programme guide data on a television screen.
What You Need Before Starting
| Item | Required? | Notes |
|---|---|---|
| Android TV device | Yes | Sony, Philips, Hisense, Nvidia Shield, Mi Box, etc. |
| Google account | Yes | Needed for Play Store installs |
| Active IPTV subscription | Yes | Get credentials from your provider first |
| M3U URL or Xtream Codes login | Yes | Server URL + username + password |
| Wi-Fi or ethernet connection | Yes | Minimum 25 Mbps for HD; 50 Mbps for 4K |
| Remote or keyboard | Recommended | The on-screen keyboard works but a physical one is faster |
Before diving in, check our IPTV Setup Australia hub if you’re still comparing setup options across different devices.
Step 1 — Confirm Your Device Runs Android TV
This sounds obvious, but there’s a difference between Android TV and Google TV (which is Android TV with a newer launcher) and regular Android (which phones run). If your TV says “Google TV” on startup, this guide still applies — the underlying system is the same.
Devices this guide works on:
- Sony Bravia XR and X series (2019–present)
- Philips Android TV range
- Nvidia Shield TV and Shield TV Pro
- Xiaomi Mi Box S and Mi TV Stick
- TCL with Android TV (not Roku models)
- Any Android TV box from a generic brand
If something goes wrong: If your Play Store looks like a phone’s Play Store (not TV-optimized), you may be on a standard Android device, not an Android TV. Standard Android users should look at installing a TV launcher first. If your remote doesn’t work with the on-screen keyboard, pair a Bluetooth keyboard temporarily — it makes credential entry much faster.
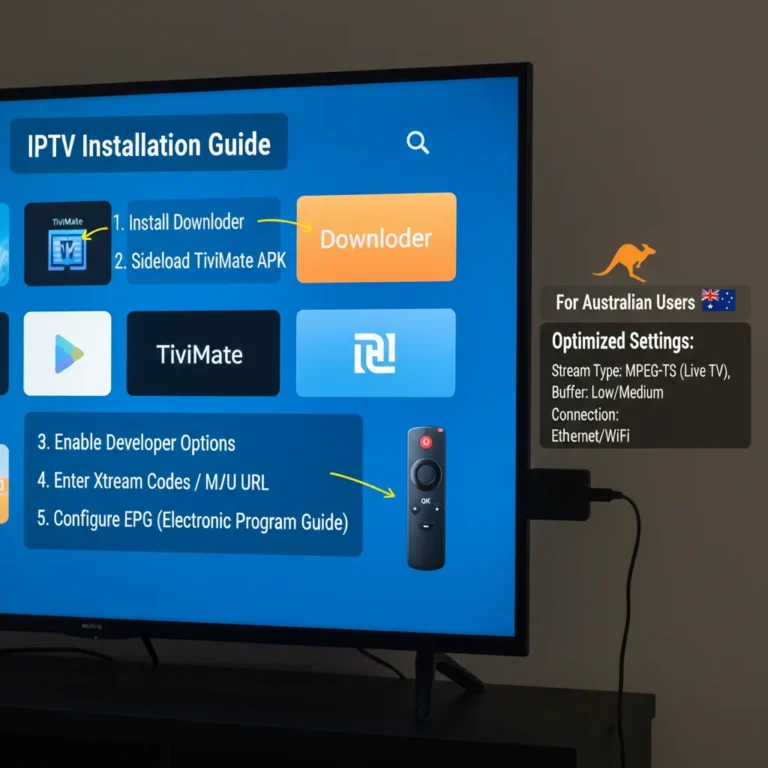
Step 2 — Install Your IPTV App from Google Play Store
Android TV’s big advantage: no sideloading needed for the main apps.
| App | Cost | Best For | Play Store? |
|---|---|---|---|
| TiviMate | Free (Premium ~$7 AUD) | Best overall daily experience | ✅ Yes |
| IPTV Smarters Pro | Free | Easiest first-time setup | ✅ Yes |
| Telly (formerly OTT Navigator) | Free | Advanced users, heavy customisation | ✅ Yes |
| GSE Smart IPTV | Free / ~$4 AUD | Good balance of features | ✅ Yes |
My recommendation: TiviMate on Android TV is the gold standard — a fast, clean interface designed for TV screens, solid EPG (Electronic Program Guide), and recording support. I suggest beginning with the free version and considering an upgrade once you are satisfied.
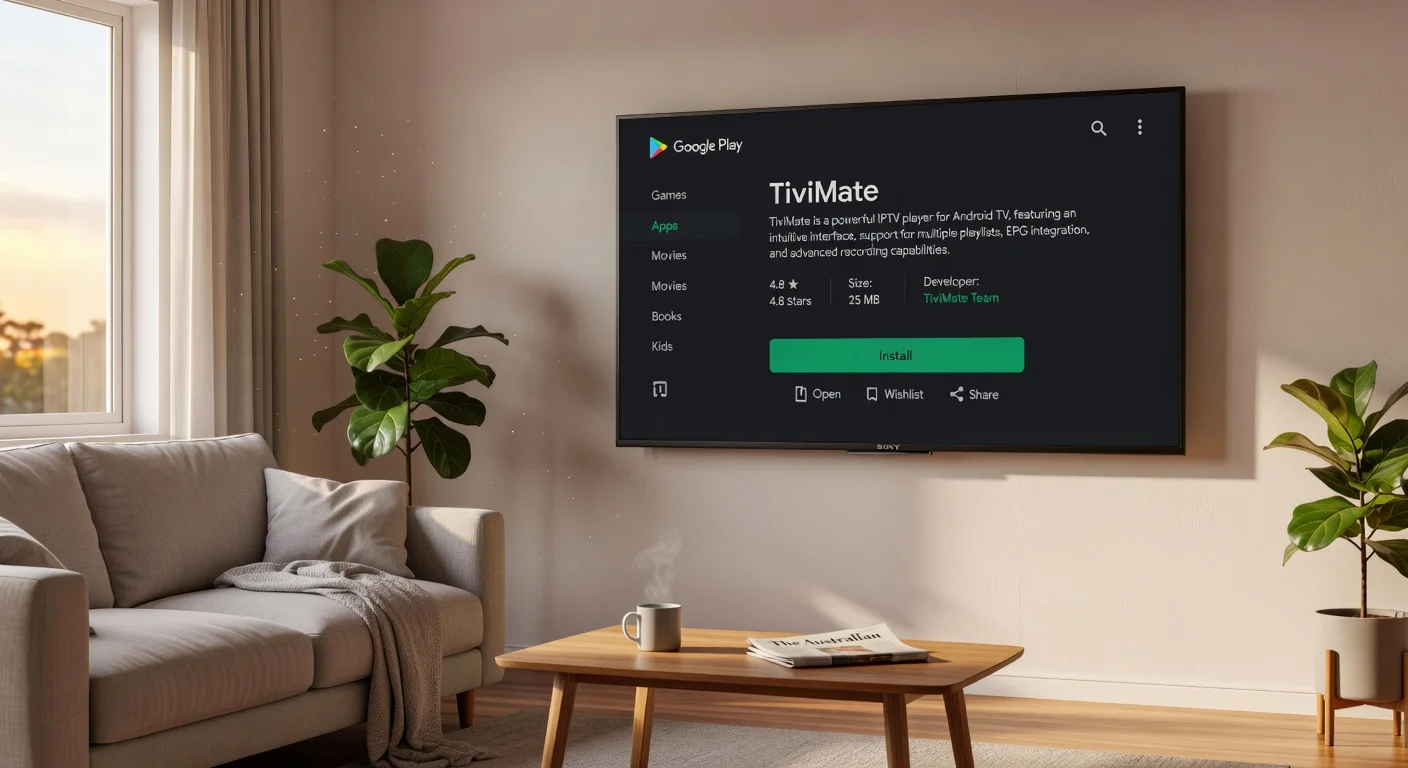
Installing TiviMate:
- From your Android TV home screen, open the Google Play Store
- In the search bar, type: TiviMate
- Select TiviMate IPTV Player from the results
- Click Install and wait (usually 30–60 seconds)
- Once installed, click Open
Installing IPTV Smarters:
- Open the Google Play Store
- Search: IPTV Smarters Pro
- Install and open
If something goes wrong: If TiviMate doesn’t appear in Play Store results, your device’s region may be blocking it. To fix this, open Google Play, tap your profile icon, then go to Settings, General, Account and Device Preferences, and finally Country. If you can’t change it there, sign out of your Google account, change your region at myaccount.google.com from a browser, then sign back in. Alternatively, install via APK (Android Package Kit) — search for TiviMate on APKMirror from the device browser and install it manually.
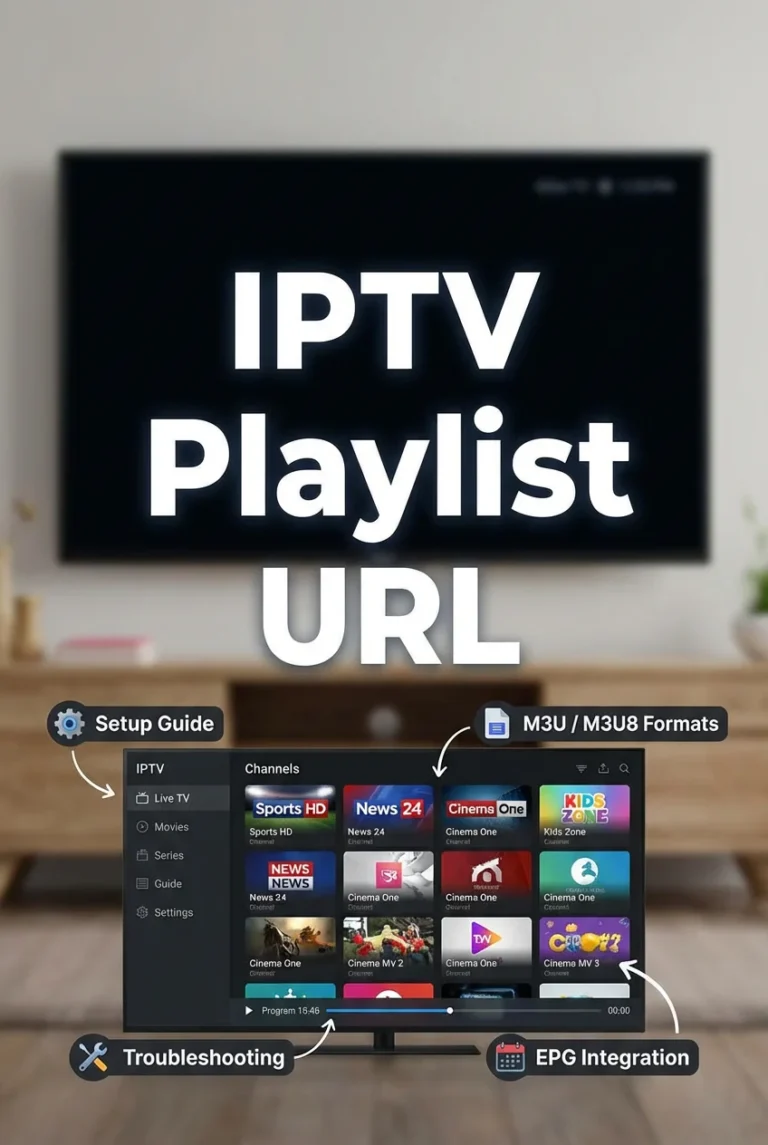
Step 3 — Load Your IPTV Playlist
Open TiviMate or Smarters and enter your provider credentials. Your provider will have given you one of two formats:
Format A — M3U URL: A single link ending in .m3u or .m3u8 Format B — Xtream Codes: A server URL + username + password (three separate pieces)
In TiviMate:
- Open TiviMate → tap Add Playlist
- Choose M3U Playlist or Xtream Codes (match what your provider gave you)
- Enter your details — take your time; one wrong character causes failure
- Tap Add — channels will load in 30–90 seconds
- Head to Live TV to start browsing
In IPTV Smarters:
- Open app → tap Add New User
- Select Load Your Playlist / Stream / Xtream Codes API
- Choose your format and enter credentials
- Tap Add User — the app fetches your channel list
If something goes wrong: Authentication errors almost always come down to one of three things — wrong credentials (check for a capital letter or space that shouldn’t be there), an inactive subscription (contact your provider), or a server URL typed incorrectly. Most Australian providers do http:// not https://. Our IPTV Playlist Setup guide goes deeper into troubleshooting M3U and Xtream Code errors, specifically.
Step 4 — Configure Your EPG
A good EPG transforms IPTV from a plain channel list into something that feels like proper TV.
- Xtream Codes users: EPG is usually included automatically. Check by going to Live TV—if you see programme names alongside channel names, it’s working.
- M3U users: You may need to add an EPG URL separately.
- In TiviMate: Settings → Playlists → [Your Playlist] → EPG URL → paste the URL your provider gave you
- In Smarters: Settings → EPG → add URL
- After adding the EPG URL, tap Refresh EPG and wait 5–10 minutes for full data to populate
For a detailed EPG configuration walkthrough across all apps, see our IPTV EPG Setup guide.
If the EPG displays some channels but not others, the guide data does not match those missing channels. This is a provider-side limitation. In TiviMate, you can manually match channels to EPG sources — go to the channel, tap Edit, and select an EPG source from the dropdown.
Step 5 — Adjust Playback Settings for Australian NBN
Android TV handles video decoding well, but a few tweaks make a real difference on Australian connections.
- Enable hardware decoding: In TiviMate → Settings → Player → set decoder to Hardware (MediaCodec). This offloads video processing to the TV’s chip — less buffering, smoother 4K.
- Increase buffer size: Settings → Player → Buffer → set to 10,000 ms or higher for NBN connections that fluctuate during peak hours.
- Set your default video quality: if you’re on an NBN 25 plan, set a max quality of 1080p to avoid the app attempting 4K on an insufficient connection.
- Use Ethernet: If your Android TV has an Ethernet port (Shield TV does; most Sony sets don’t), a wired connection eliminates Wi-Fi inconsistency entirely.
For ISP-specific tuning (Internet Service Provider-specific adjustments) for Telstra, Optus, TPG, and Aussie Broadband, our Optimise IPTV for Australian ISPs guide has detailed settings for each provider.
If something goes wrong: if 4K channels stutter but 1080p plays fine, you’re hitting a bandwidth ceiling. During peak hours, switch to a 1080p stream if your provider offers dual-quality channels. If buffering is constant at all hours in all qualities, run a speed test in the browser— if you’re above 25 Mbps and still buffering, the issue is likely server-side, not your connection.
Step 6 — Set Up Favourites and Channel Groups
Taking a few minutes to do this now can help you avoid frustration in the future.
- Create favourites: In TiviMate, long-press any channel → Add to Favourites. Build a favourites list with your top 10–15 channels, so you don’t scroll through hundreds every time.
- Filter by group: most providers organise channels into groups (AU Sports, AU Entertainment, News, International). TiviMate shows these as categories in the sidebar.
- Hide unwanted groups: Settings → Playlists → Groups → uncheck any groups you’ll never use (e.g., if you don’t need 400 US channels cluttering your list).
If something goes wrong: If channel groups are missing in TiviMate, your M3U playlist may lack embedded group tags. This is a provider formatting issue. Contact your provider and ask if they can supply a playlist with group-title tags included, or switch to the Xtream Codes login, which always includes group data.
You Are Set Up
Here’s what daily IPTV use looks like on Android TV: you power on the television, open TiviMate from your home screen (pin it to the top row for one-click access), and you’re in your channel list immediately. The EPG, or Electronic Program Guide, shows what’s on now and next for every channel. Favourites are at the top. Sports, news, and entertainment are one click away in the sidebar.
On Android TV, the experience is genuinely polished — the app renders beautifully at 4K, remote navigation feels natural, and switching channels is near-instant on a good connection. If you choose the Nvidia Shield option, you will also benefit from Dolby Vision and Atmos passthrough, which significantly enhances the picture and sound quality.
For households running multiple devices, this same setup process works on each one. Check our Multi-Device IPTV Setup guide for how to share credentials cleanly across TVs without hitting connection limits.
FAQ
Q: Can I use TiviMate on an Nvidia Shield TV? Yes — the Shield runs Android TV, and TiviMate installs perfectly from Google Play. The Shield’s processing power makes it the best IPTV device available. The setup steps are identical to this guide. TiviMate on Shield also supports Dolby Vision output if your TV and provider stream support it. Please refer to our IPTV Setup Australia hub for a device comparison if you are still deciding on hardware.
Q: My Sony Bravia shows “App is not available in your country” for TiviMate— what do I do? This is a region restriction on the Play Store account. Sign into myaccount.google.com on a computer, go to Data & Privacy → More Options → Set up a Google account → update your country to Australia. It can take 24 hours to reflect. Alternatively, download the TiviMate APK directly from the TiviMate website using the Bravia’s built-in browser and install it manually — Developer Mode isn’t needed on most Sony sets for this.
Q: IPTV works fine on my phone but buffers on Android TV — why? The most common reason is the Wi-Fi band. Your phone is likely on the 5GHz band (faster, shorter range), while your TV may have defaulted to 2.4GHz (slower, longer range). Go to your TV’s Wi-Fi settings, forget the network, reconnect, and manually select the 5 GHz version of your router’s network. Our IPTV Network Settings guide covers the matter in detail.
Q: Do I need to update TiviMate manually on Android TV? No — Android TV handles app updates automatically through the Play Store. TiviMate updates are pushed every few months with bug fixes. If you want to check for updates manually: open the Play Store → search TiviMate → if an Update button appears instead of Open, tap it. Our IPTV App Updates guide explains the update cycle and what to do when an update breaks something.
Wrap-Up
Android TV is one of the cleanest platforms for IPTV — the app ecosystem is mature, installation is straightforward, and the viewing experience with TiviMate is genuinely excellent. By following these six steps and carefully entering your credentials, you can have a complete live TV setup operational in well under 20 minutes.
The one thing I’d emphasise: get your Wi-Fi situation right before blaming your provider for buffering. Half of the “IPTV is broken” calls I receive are due to a TV that is two rooms away from the router and connected to a weak 2.4 GHz signal. Fix the network first.
Enjoy your setup.