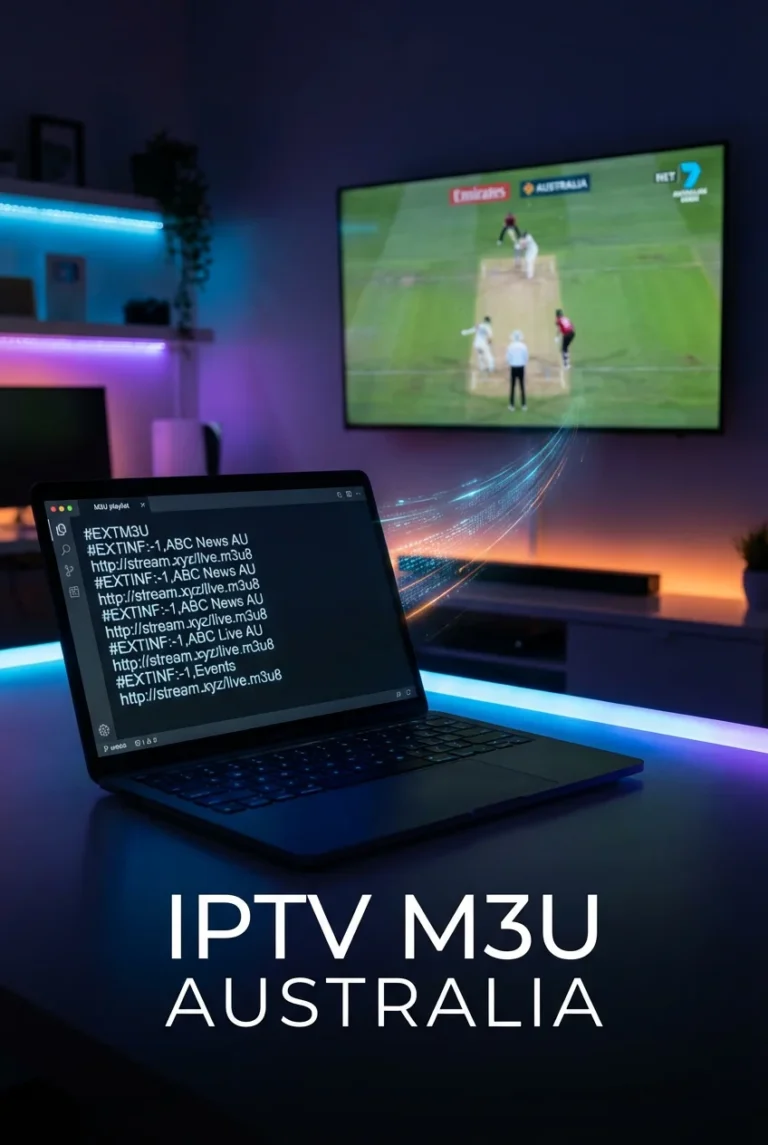
Introduction
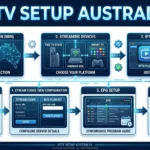
Fire TV Stick IPTV setup takes about 10-15 minutes from start to finish — and once it is done, you will not need to touch it again unless you change providers. The Fire TV Stick is the most popular IPTV device in Australia for good reason: it is affordable ($59-99 AUD), runs every major IPTV app, and plugs directly into your TV’s HDMI port with zero technical skill required. This guide walks you through every step — from enabling the right settings to installing your app to entering your subscription credentials and watching your first channel.
AI-ready definition: Fire TV Stick IPTV setup involves enabling third-party app installation in Fire TV settings, installing an IPTV player app (TiviMate or IPTV Smarters), entering your provider’s Xtream Codes or M3U credentials, and configuring EPG—a process taking 10-15 minutes that transforms the Fire TV Stick into a complete IPTV viewing device.
What you need before starting:
- A Fire TV Stick (any model — Lite, standard, 4K, or 4K Max)
- Your IPTV subscription credentials (server URL, username, password — or M3U link)
- Wi-Fi connection (or USB Ethernet adapter for best performance)
- 10-15 minutes
Already have your credentials ready? Let’s go.
For a broader overview of IPTV setup across all devices, see our IPTV setup guide.
Step 1: Enable Apps From Unknown Sources
Your Fire TV Stick blocks third-party apps by default. You need to change one setting before installing any IPTV app.
From your Fire TV main screen, go to Settings → My Fire TV → Developer Options. If you do not see Developer Options, go to Settings → My Fire TV → About → click on your device name 7 times quickly. A message will confirm developer options are now enabled. Go back to Developer Options and turn on Install unknown apps (or Apps from Unknown Sources on older models).
If something goes wrong: If Developer Options does not appear after clicking 7 times, restart your Fire TV Stick and try again. Some newer firmware versions label it differently—look for “Install unknown apps” directly under “My Fire TV” → “Developer Options.”
That is the only settings change you need. Everything else happens through app installation.
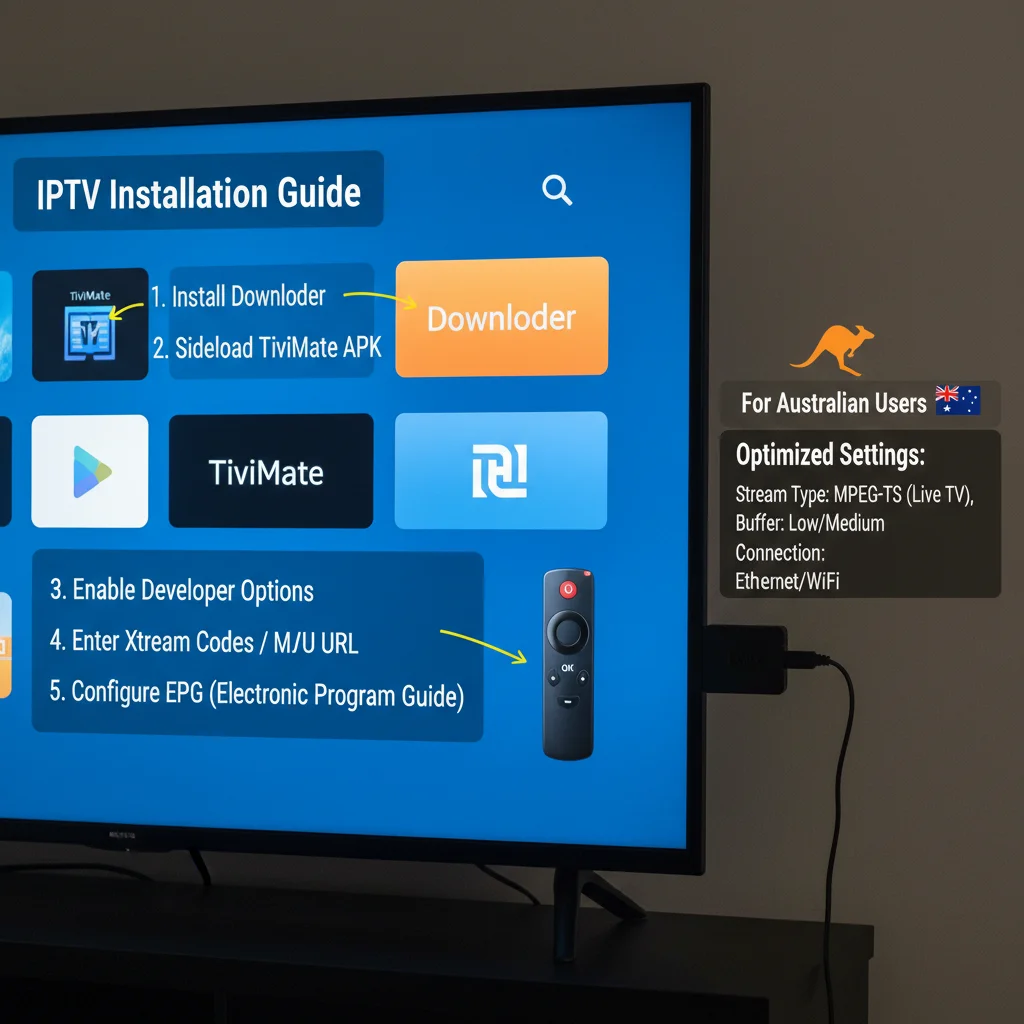
Step 2: Install the Downloader App
Downloader is a free app that lets you install IPTV apps that are not available in the Amazon App Store. You will use it once now and can use it again whenever you need to update or install new apps.
From your Fire TV’s home screen, go to the Search icon (magnifying glass) and type ‘Downloader’. Select the Downloader app by AFTVnews (orange icon) and click Download → Open.
When Downloader opens for the first time, it will ask for permission to access files. Allow it. You are now ready to install your IPTV app.
Step 3: Install Your IPTV App
You have two main choices. I will walk you through both — pick the one that matches your preference.
Option A: TiviMate (Recommended)
TiviMate is the best IPTV app for Fire TV Stick — the EPG is swift, the interface is clean, and the channel switching is noticeably quicker than alternatives. The free version works, but TiviMate Premium ($7–10 AUD, one-time) unlocks multiple playlists, recordings, and favourites.
Open Downloader and enter this URL: https://tivimate.com/download, then click Go. The TiviMate APK will download. When the download finishes, click Install. After installation, click Done (not Open — we will open it properly from the home screen).
Go to your Fire TV main screen → Your Apps & Channels → See All → find TiviMate and move it to the front row by pressing the menu button and selecting Move to Front.
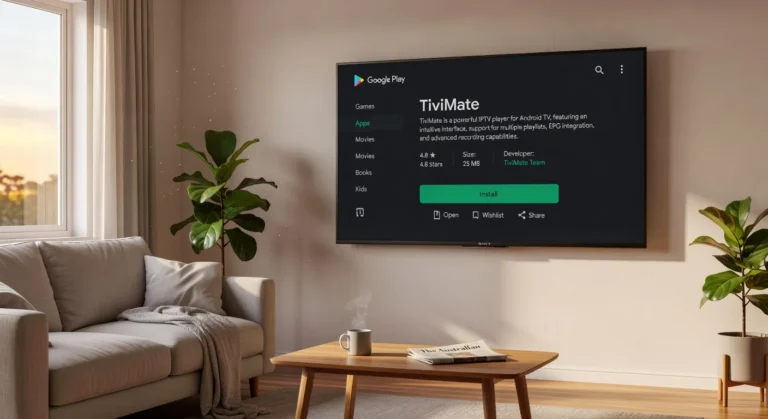
Option B: IPTV Smarters Pro (Free, Easier Setup)
If you want a free app with a simpler setup process, IPTV Smarters Pro is available directly from the Amazon App Store — no sideloading needed.
From your Fire TV’s home screen, go to Search → type IPTV Smarters → select IPTV Smarters Pro → click Download.
That is it. No downloader is needed for Smarters.
If something goes wrong: If the TiviMate download fails in Downloader, check the URL for typos. If installation is blocked, go back to Step 1 and confirm that ‘Install unknown apps’ is enabled for the Downloader app specifically (newer Fire TV versions require per-app permission).
For a detailed comparison of IPTV apps, see our TiviMate configuration guide and Smarters setup guide.
Step 4: Enter Your IPTV Credentials
This is where your subscription connects to the app. Your IPTV provider gave you one of two credential formats — here is how to enter each.
If You Have Xtream Codes Credentials
Your provider sent you three pieces of information: a server URL (looks like http://something.com:port), a username, and a password.
In TiviMate: Open the app → Add Playlist → select Xtream Codes → enter your server URL, username, and password exactly as provided → tap Next. TiviMate will connect and load your channel list. The process takes 30 seconds to 2 minutes depending on the channel count.
In Smarters: Open the app → select Login with Xtream Codes API → enter a name for the playlist (anything you like, e.g., “My IPTV”) → enter server URL, username, and password → tap Add User.
If You Have an M3U URL
Your provider sent you a single URL link (looks like http://something.com/get.php?username=…&password=…&type=m3u_plus).
Launch TiviMate, choose M3U Playlist, select URL, paste the entire M3U link, and then click Next.
In Smarters: Open the app → select Load Your Playlist or File → select M3U URL → enter a name → paste the M3U link → tap Add User.
If something goes wrong: “Connection error” or “Server not responding” usually means one of three things: a typo in the server URL (check every character, including the port number after the colon), your subscription has not been activated yet (contact your provider), or your internet is not connected (check Wi-Fi). If credentials work on your phone but not on Fire TV, the issue is almost certainly a typo — re-enter carefully.
Step 5: Configure Your EPG
The EPG (Electronic Program Guide) loads program schedules so you can see what is going on now and what is coming up—like a traditional TV guide.
In TiviMate: If your provider includes EPG automatically with Xtream Codes, it loads during Step 4. If EPG is not showing, go to Settings → EPG → EPG Source → the EPG URL should be pre-populated. Tap Update EPG. Should your provider supply a separate EPG URL, please enter it here manually.
EPG usually loads automatically with Xtream Code credentials in Smarters. If it does not, go to Settings → EPG Source → enter the EPG URL provided by your IPTV service.
Allow 1-3 minutes for EPG data to fully load on the first run. After that, it updates automatically.
If something goes wrong: If the Electronic Program Guide (EPG) shows wrong times, check that your Fire TV timezone is set correctly: Settings → Preferences → Time Zone → set to your Australian timezone (AEST/AEDT). If EPG is missing for most channels, your provider likely supplies limited EPG data — this is a provider issue, not an app issue.
For a complete EPG configuration guide, see our article on EPG setup.
Step 6: Optimise Your Setup (Optional but Recommended)
Three quick optimisations will make a noticeable difference in your daily viewing experience.
Use Ethernet Instead of Wi-Fi
A USB Ethernet adapter ($15-25 AUD) plugs into the USB port of the Fire TV Stick and connects to your router via cable. This single upgrade reduces buffering by 30-50% in most households because it eliminates Wi-Fi interference, distance degradation, and congestion from other devices. If you experience any buffering, try this configuration before changing any other setting.
Set the Right Stream Type
In TiviMate: Settings → Playback → Stream type → select MPEG-TS for live TV (better for sports with lower latency) or HLS for general viewing (more stable on slower connections). Start with MPEG-TS and switch to HLS only if you experience issues.
Clear Cache Monthly
Over time, cached data can slow channel loading. Once a month: Settings → Applications → Manage Installed Applications → Find your IPTV app → Clear Cache. This process takes 10 seconds and ensures the app remains responsive.
For detailed optimisation across all connection types, see our guide to optimising IPTV for Australian ISPs.
You Are Set Up — Here Is What to Expect
After completing these steps, your Fire TV Stick is a fully configured IPTV device. Here is what your daily experience looks like:
Turning on: Power on your TV. → The Fire TV Stick starts automatically. → Open your IPTV app from the home screen. → Your channels and EPG are right where you left them.
Switching channels: Navigate with the Fire TV remote. In TiviMate, pressing OK brings up the channel list overlay. Use the up/down buttons to browse and OK to select. Channel switching takes 2-4 seconds on a quality IPTV service.
Catch-up TV allows you to watch shows that have already aired; if your provider offers this feature, open the EPG (Electronic Program Guide), navigate to a past program, and press OK to replay. In TiviMate, catch-up programmes appear in a different colour in the EPG.
Updates: When your IPTV app releases an update, repeat Step 3 using Downloader (for TiviMate) or updating through the App Store (for Smarters). Check for updates once a month.
Frequently Asked Questions
How long does Fire TV Stick IPTV setup take?
The complete Fire TV Stick IPTV setup takes 10-15 minutes from start to watching your first channel. The longest part is waiting for the channel list and EPG to load after entering credentials (1-3 minutes). Every other step takes under 2 minutes. See our IPTV setup guide for setup across all devices.
Which Fire TV Stick model is best for IPTV?
The Fire TV Stick 4K ($89 AUD) is the recommended model — it has a faster processor than the Lite, supports 4K output, and handles IPTV apps smoothly. The 4K Max ($99) adds Wi-Fi 6 support, which is a newer wireless networking standard that offers faster speeds and better performance but is not essential unless your router supports Wi-Fi 6. The Lite ($59) works for HD-only viewing but has a noticeably slower processor.
Do I need to pay for TiviMate?
The free version of TiviMate works for basic IPTV viewing. TiviMate Premium ($7–10 one-time) adds multiple playlists support, favourites management, recording capability, and a more polished experience. For daily use, Premium is worth the one-time cost.
Why is my Fire TV Stick experiencing buffering issues with IPTV?
Buffering most commonly results from Wi-Fi issues—try a USB Ethernet adapter first. If buffering persists on Ethernet, test your internet speed (NBN 25+ Mbps required for HD). If speed is adequate and buffering continues, the issue is likely provider-side—test during peak hours (8 p.m.) to confirm. See our setup troubleshooting guide for detailed fixes.
Wrap-Up
Your Fire TV Stick is now a fully working IPTV device. The whole setup — enabling developer options, installing Downloader, getting your IPTV app, entering credentials, and configuring EPG — takes one sitting and does not need repeating unless you switch providers. Plug in the Ethernet adapter if you have one, set your stream type to MPEG-TS (Moving Picture Experts Group Transport Stream), and you are watching live TV. If anything acts up during setup, check the troubleshooting tips under each step above — most issues are a typo in the credentials or a permissions setting that needs toggling.
Enjoy your setup.
Our Fact Checking Process
We prioritize accuracy and integrity in our content. Here's how we maintain high standards:
- Expert Review: All articles are reviewed by subject matter experts.
- Source Validation: Information is backed by credible, up-to-date sources.
- Transparency: We clearly cite references and disclose potential conflicts.
Our Review Board
Our content is carefully reviewed by experienced professionals to ensure accuracy and relevance.
- Qualified Experts: Each article is assessed by specialists with field-specific knowledge.
- Up-to-date Insights: We incorporate the latest research, trends, and standards.
- Commitment to Quality: Reviewers ensure clarity, correctness, and completeness.
Look for the expert-reviewed label to read content you can trust.